Top 10 Best Hidden Boss Fights in Crimson Desert
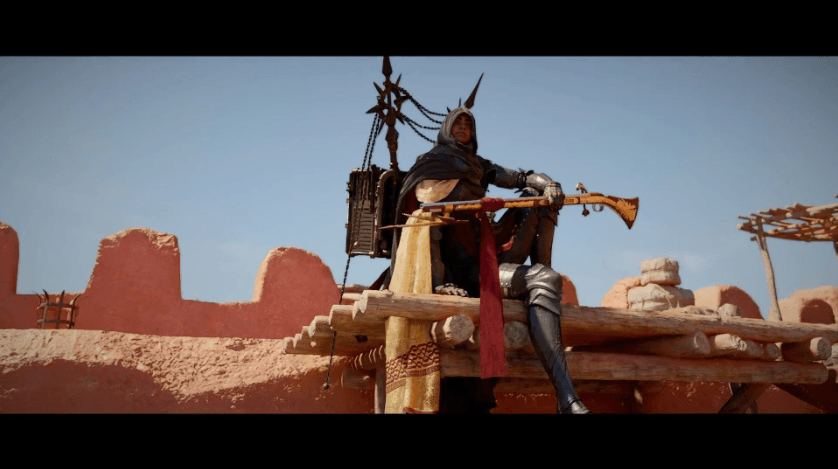
Crimson Desert has gained a ton of notoriety for refusing to be a modern game that hand-holds its players. That might upset some beginners, but there’s a joy in that, especially since the game isn’t on easy mode.
Pearl Abyss’ masterclass offers plenty of challenging encounters. However, some of the absolute best boss fights and the most overpowered gear are hidden off the beaten path.
Tracking down these optional foes is the only way to secure the game’s best Abyss Gear and legendary weapons. Don’t sweat it, we will narrow it down to 10 bosses that you must absolutely hunt down during your next session.
10. Giath
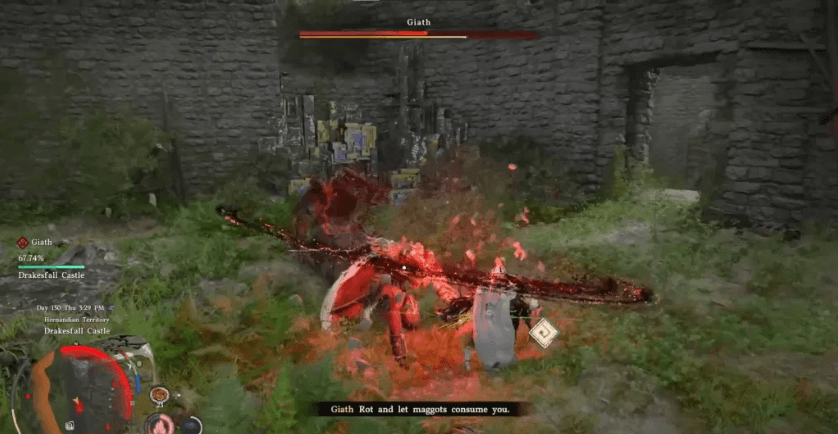
This is the masked high priest and leader of the Wolf Trackers. You can face him inside Drakesfall Castle in the Hernand region during the Masked Hunter questline.
- Drops: Savage Sawblade, Chalice of Corruption, Abyss Artifact
This boss will challenge you with relentless and high-mobility dual-blade combat. Giath’s mechanics are relatively simple compared to some other bosses on this list. But he serves as an excellent gear-check for players exploring off the main story path.
9. Walter Lanford
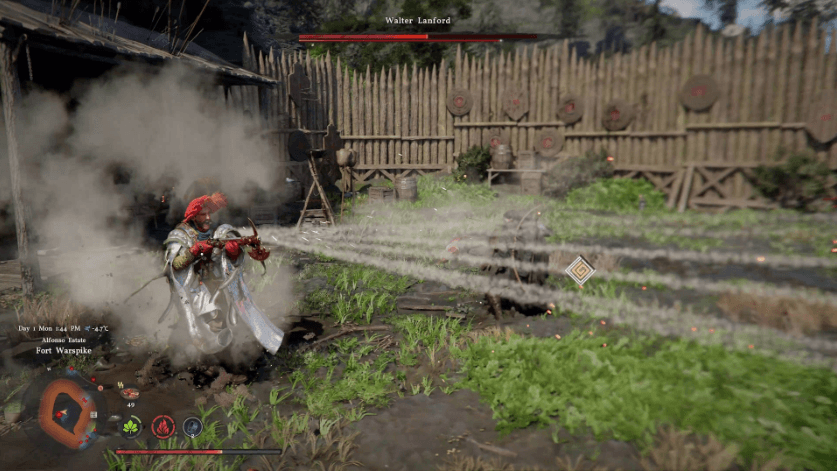
Walter Lanford can be found hiding out at Fort Warspike, west of Hernand, north of the Witch Woods. He is a heavily armed and dangerous hidden encounter tied to the Serkis faction questline.
- Drops: Dane Shotgun, Rhonda Leather Boots
What makes this fight stand out is Walter's heavy reliance on ranged weaponry and explosives. He will force you to utilize cover and perfect your dodge timing.
8. Runewalker Vordis
Also known as Vordis the Runewalker, this boss leans heavily into magical combat. He will be encountered during the Nightmare of Kharonso questline at the Destroyed Barrier Stone of the Lake.
- Drops: Runewalker's Shield, Abyss Artifact
Vordis will use his glowing prisms and elemental spells to keep you at a distance. Your counteraction has to be to aggressively close the gap and use Axiom Force to interrupt his mechanics.
7. Gwen Kraber
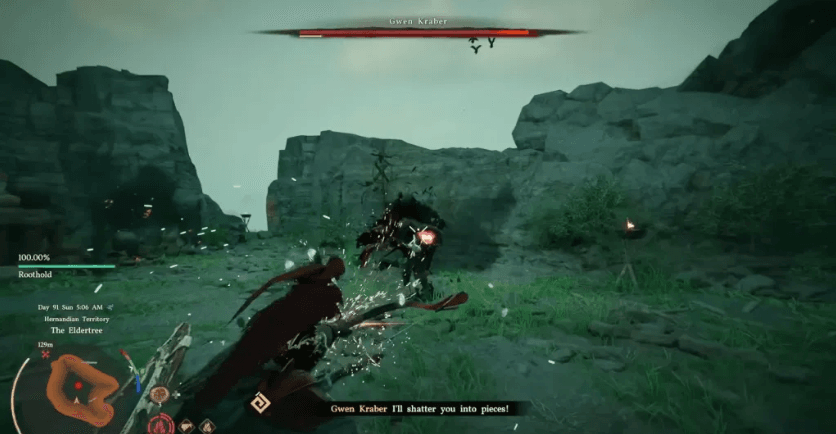
Gwen Kraber is a legendary sea-monster hunter who blockades Roothold. You will find her waiting at the Frozen Eldertree in the Hernand region during a House Celeste faction quest.
- Drops: Frostfang
Kraber controls the space by relying heavily on her massive harpoon and chain. She will use that to pull you into devastating close-range attacks. The trick to surviving the fight is to have plenty of ice resistance and to thrive by just spamming fire damage.
6. Sizlek the Insatiable
Located deep within the Ruined Chapel (Bloodied Sanctum) in southeast Hernand. Sizlek the Insatiable is a terrifying beast of a boss tied to the Parish of Solumen questline.
- Drops: Storm Fang (Abyss Gear), Lightning Blade of Greed, Goldbranch Plate Crown
Sizlek's moveset is built around aggressive lunges and punishing strikes. He’s pretty tanky, and the way to defeat him is to stay nimble and keep chipping at his HP.
5. Grave Walker (Triple Boss)

Standard Grave Walkers are tough enough, but this triple Grave Walker encounter is a different ballgame altogether. You can find this dreaded location tucked inside the Silent Falls Hideout near Hook Rapids.
- Drops: Earthrending Strike manual, Reckoning Abyss gear
It elevates the difficulty by forcing you to manage multiple elite threats simultaneously in a tight space. This fight tests your crowd control and situational awareness. It will punish you if you focus too heavily on a single target without managing the others.
4. Titan
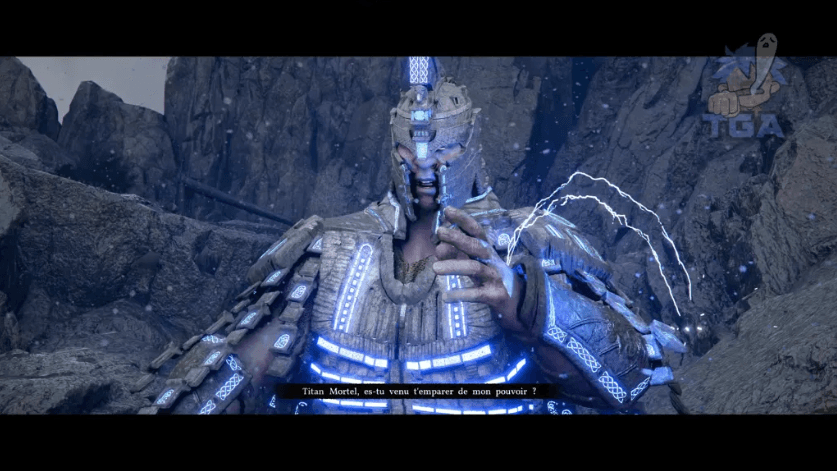
The Titan is exactly what he sounds like; there’s no wordplay here. He will be encountered during the Master of Thunder Stjar Clan faction questline at the Windsong Peaks by the northeastern edge of the Pailune region.
- Drops: High-tier Heavy Armor
He’s a colossal, screen-filling Fallen God boss that hits like a freight train. This fight feels like a classic raid-boss encounter. It will require you to carefully manage your stamina to dodge his ground-shaking area-of-effect slams.
3. Tarandus the Ashen
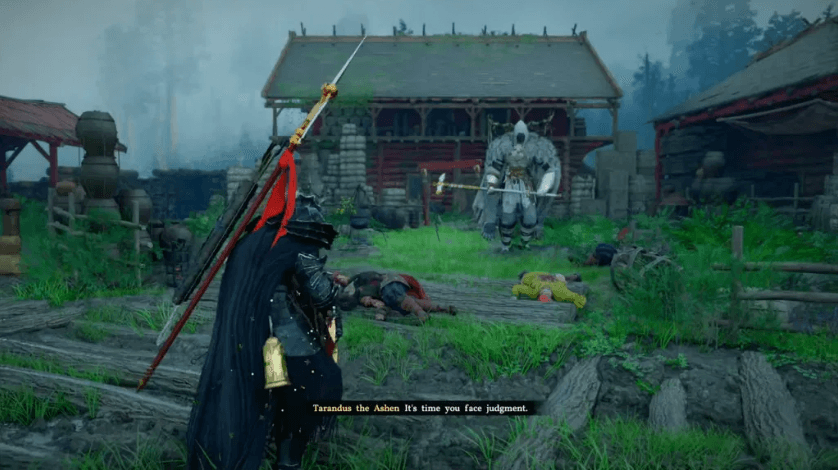
Tarandus the Ashen is a visually spectacular late-game elite boss. You can battle against him during the Executioner of Justice faction quest in Pailune.
- Drops: Ashen Execution (Warhammer)
You will chase him through several ruins during the fight. However, the final face-off occurs at the Odeck Floodgate. He wields a devastating warhammer with wide swinging motions. This boss fight forces you to perfectly time your parries if you want to come out victorious at the other end.
2. Samara, the Sandwatcher
Samara is tied to the northern Golden Plains of the Demeniss region. She is the leader of the Dusksongs at Izvatu Fortress.
- Drops: Gustav Musket, Shadow Contract, Abyss Artifact
Samara is a lightning-fast munitions expert and fires off an arsenal of weaponry in battle. Winning this battle won’t be a cakewalk. You will need to use Nature's Snare and Retribution to catch and reflect her projectiles back at her.
1. The Masked Liberator
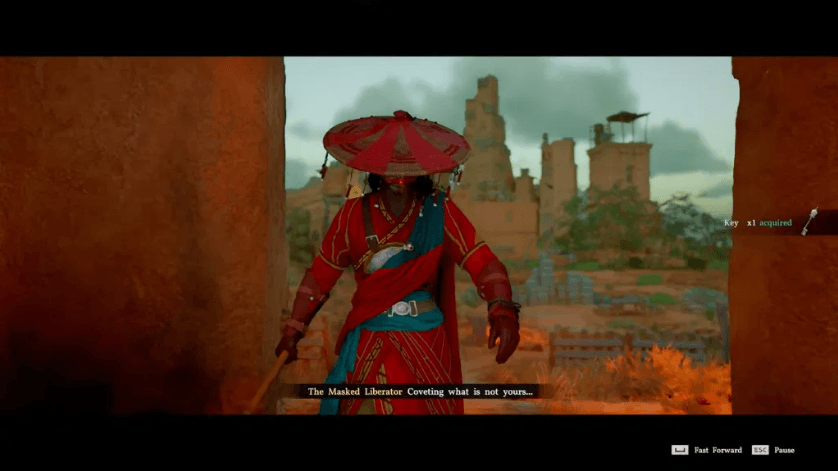
The Masked Liberator has to have the number one spot in the list. She is arguably the most mechanically complex hidden boss in the game and will be found at Fort Manub, east of Tashkalp in the Crimson Mountains.
- Drops: Masked Liberator's Cloth Armor
This boss will test every single combat skill you have learned. The fight is a high-speed, relentless duel against a master swordsman. While the fight is optional and challenging, we recommend going for it, not just for the loot but for the sheer monstrosity of it as well.
| Boss Name | Location | Quest Requirement |
|---|---|---|
| Giath | Drakesfall Castle, Hernand | Masked Hunter questline |
| Walter Lanford | Fort Warspike, Hernand | Serkis faction questline |
| Runewalker Vordis | Destroyed Barrier Stone of the Lake | Nightmare of Kharonso questline |
| Gwen Kraber | Frozen Eldertree, Hernand | House Celeste faction quest |
| Sizlek the Insatiable | Ruined Chapel, Hernand | Parish of Solumen questline |
| Grave Walker | Silent Falls Hideout, Delesyia | None (World Exploration) |
| Titan | Windsong Peaks, Pailune | Master of Thunder Stjar Clan quest |
| Tarandus the Ashen | Odeck Floodgate, Pailune | Executioner of Justice faction quest |
| Samara, the Sandwatcher | Izvatu Fortress, Crimson Desert | None (World Exploration) |
| The Masked Liberator | Fort Manub, Crimson Desert | None (World Exploration) |
Have you faced off against any of the aforementioned bosses in Crimson Desert? Which boss fight has been the most challenging one for you thus far? Let us know in the comments.